Objective: Learn how
to upload and manage client photos to better identify clients.
Accessing Photos
Navigate to the client screen.
From the side menu of the client screen, click “Profile”.
Click “Photos”
on the blue client toolbar near the top of the screen.

Adding a Photo
Click
the Add New
button in the bottom right corner of the screen.

When the Photo edit view opens, click
Select File.
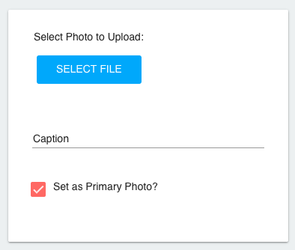
Select the photo you wish to upload from your local file directory.
Add
a Caption
to the image.
If you want this photo to be the primary photo that displays in the Client Profile, check the box labeled "Set as Primary Photo?"
If not, leave the box unchecked.
If you are satisfied with your entry, click the checkmark icon in the toolbar to save the record.

If you wish to close the edit view without saving, click the x in the toolbar to cancel your changes and return to the medications list.
Editing a Photo Caption
From the Client’s photo gallery, locate the photo you wish to update.
Click the edit icon in the toolbar directly below the photo.

Update
the Caption.
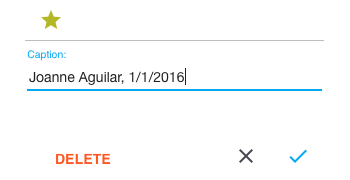
When you are satisfied with your changes, click the checkmark icon to save the record.
If you wish to cancel your changes, click the x to close the edit view.
Changing a Client's Primary Photo
While multiple photos can be added for a client, only one photo can be marked as the primary photo. The primary client photo will be displayed in the client profile, as well as the Client List.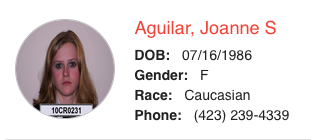
If you simply wish to mark an already uploaded photo as the primary Client photo, follow the instructions below. If you want to add a new primary photo that hasn’t been uploaded yet, refer to the tutorial above titled Adding a Photo.
From the Client’s photo gallery, locate the photo you wish to mark as primary.
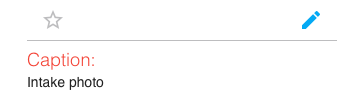
Click the star in the toolbar directly below the photo.
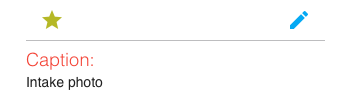
Toggling the star button will automatically remove the primary photo indicator from the previously marked photo.
Deleting a Photo
From the Client’s photo gallery, locate the photo you wish to delete.
Click the edit icon in the toolbar directly below the photo.
Click Delete.
| borderColor | #ccc |
|---|---|
| borderWidth | 1 |
| borderStyle | solid |
On this page:
| Table of Contents |
|---|
.