| Excerpt | ||||
|---|---|---|---|---|
| borderColor
| #ccc | ||
| bgColor | #f4f5f7 | |||
| borderWidth | 1 | |||
| borderStyle | solid |
| ||
Objective: Learn how to add records in bulk for a group of clients using Group Entry. | ||||
| Info |
Objective: Learn how to add contacts, drug tests, activities, and staff notes in bulk for a group of clients using Group Entry.
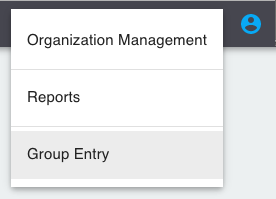
Accessing Group Entry
Click the red Apps icon in the top toolbar.
- Select
Select "Group Entry."
If this is your first time using group entry, you will need to create a new group. To do this,
clickclick "Create New Group."
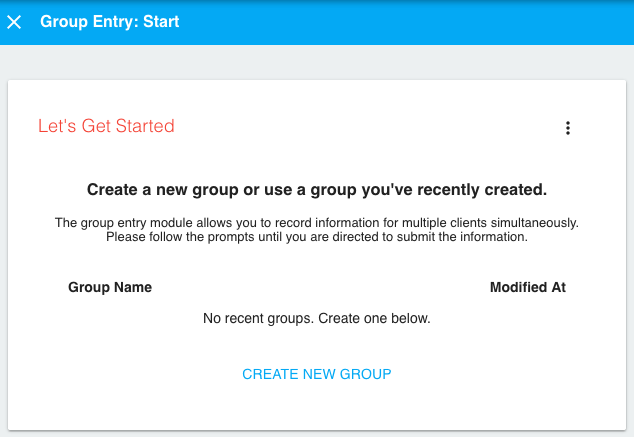
You will then be prompted to give the group
aa name.
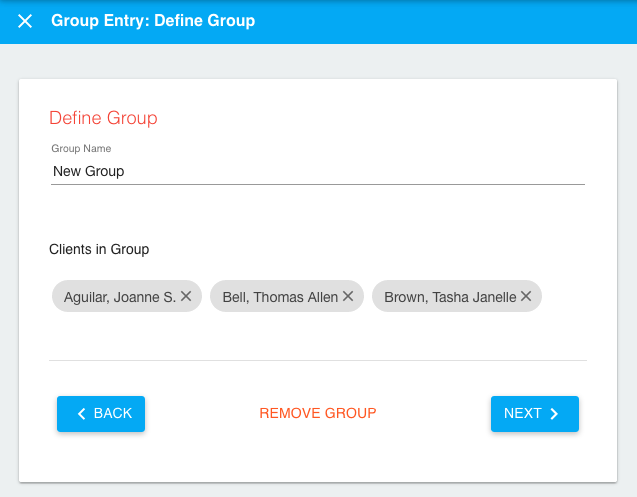
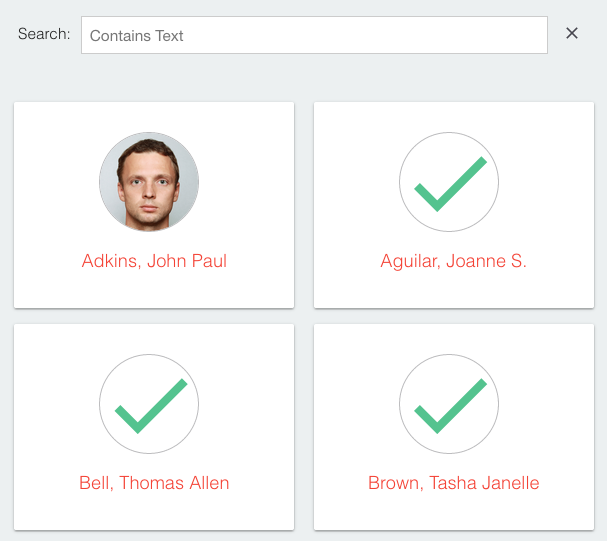
Select
thethe clients
forfor the group by clicking each client you want to add from the list. You can search for specific clients by name. Once a client has been added to the group, a checkmark will appear on the client's photo. To remove a client from the group, simply click on the client again to remove the checkmark.
When you are finished selecting clients,
clickclick Next.
A menu will appear with a few options for record types: Contact, Drug Test, Activity, Staff Note.
ClickClick the type of record you wish to add.
The form to enter the record will appear next to a list of all the clients in the group.


Once you have entered the record,
clickclick Save.
You will then receive confirmation that the record saved for each client in your group. If you wish to go into a client's individual record to modify it, you can click on their name here.
Notice that the group you created is now appearing in the list of available groups. The group is now saved for later use.
Deleting Groups
Groups can be deleted one of two ways:
To delete all groups, click the menu icon (circled in the image below) and
clickclick "Clear All Recent Groups".
To delete a single group, simply select it from the list of groups, then
clickclick "Remove Group".

On this page:
| Table of Contents |
|---|